Trending

A tree is one of the best things you can learn to sketch, and one of the worst things to rush. Beginners lose most of their half hour trying to draw individual leaves, then run out of time before the drawing has any weight to it. This routine flips that around. You spend the first third on shape, the middle on structure and mass, and the last ten minutes on shadow, which is what actually makes a sketch look three-dimensional.
Set a timer for each stage and stop when it goes off. The timings matter more than they sound: they force you to commit to decisions instead of fiddling with the same branch for twenty minutes.
Get everything within reach so you are not hunting for an eraser halfway through. For this sketch you need very little:
Choose a tree with a clear, simple outline for your first attempt. A bare winter tree or a rounded deciduous tree in full leaf both work well; a dense thicket of overlapping branches does not. Decide now where the light is coming from. Every shadow you draw for the next thirty minutes should agree with that one decision.
Start with the shape the tree makes against the sky and nothing else. Lightly draw an oval, a teardrop or a rough blob for the crown, then a single line for the trunk running up into it. Do not draw a lollipop. Real crowns are wider at one side, flatter on top, or heavier at the base where the lower branches have spread.
Use your pencil to check proportions before you commit. Hold it at arm's length, line the tip up with the top of the crown and slide your thumb down to the base of the trunk. Now compare that height with the width of the crown at its widest point. Most trees are nearer square in overall proportion than beginners expect. Sketch the trunk's width against the crown's width the same way.
Keep these marks pale and broken. You will erase most of them.
A tree trunk is widest at the ground and narrows steadily as it rises. Draw two lines for the trunk rather than one, and let them come closer together as they climb. The same applies to every branch: a branch is thick where it leaves the trunk and thin at its tip.
Branches rarely leave the trunk at the same height, and they rarely leave at a perfect right angle. Look for the fork points and mark those first, then run each branch outward and slightly upward, splitting once or twice on the way. Where a branch joins the trunk, the trunk usually bulges a little. Those small thickenings do more for realism than any amount of bark texture.
Keep bark marks short, and let them follow the trunk's direction. Put more texture along the shadowed edge and the base, and leave the lit side almost bare. If you draw every ridge you will flatten the trunk into a pattern.
Now stop thinking about leaves. A crown is a collection of masses, not a thousand tiny shapes competing for attention. Break the crown into five to eight clumps, roughly the size of your thumb on the page, and shade each one as a single soft form with a lighter top and a darker underside.
Between the clumps, leave gaps so the sky shows through. Those holes are what tell the viewer they are looking at foliage rather than a grey blob, and they are far more convincing than neat leaf outlines.
Once the masses are in, add leaf marks over the top, loosely:
Squint at your sketch. Squinting throws away detail and leaves you with tone, which is exactly what you need to judge now. Aim for three clear groups: your lightest tone (mostly bare paper), a middle tone, and a dark tone that you are slightly afraid of.
Push the darkest darks into the places that sell the form: under the crown where the foliage sits over the trunk, in the angle where a branch meets the trunk, along the shadowed side of the trunk, and at the base where it meets the ground. Then add a cast shadow. It should stretch away from the trunk in the direction opposite your light source, and it should be longer than you instinctively want to make it.
Keep the sunlit side of the trunk and the topmost clumps as untouched paper. Contrast between your darkest tone and your white paper is what makes the sketch read as a real tree from across the room.
Stand back, or hold the sketchbook at arm's length and look at it upside down. Check three things: is the silhouette interesting, is there one clear dark area, and does the light come from a single direction? Anything that looks fussy can be lifted back with the kneaded eraser. Resist adding more detail. A sketch finished slightly early almost always looks better than one worked to death, and the timer is there to protect you from yourself.
Do this routine on the same tree for three sessions in a row, one per day if you can. The first attempt will feel cramped and overworked; the second will be faster because you already know the branch structure; by the third you will be placing shadows with confidence and finishing with minutes to spare.
After that, change one variable at a time. Sketch the same tree in the morning and again at dusk to see how differently the shadows fall, then try a different species with a spikier crown or a leaning trunk. Keep the thirty-minute limit. Speed is not the goal in itself, but a deadline stops you from hiding behind detail, and the habits you build under it will show up in every drawing you make afterwards.
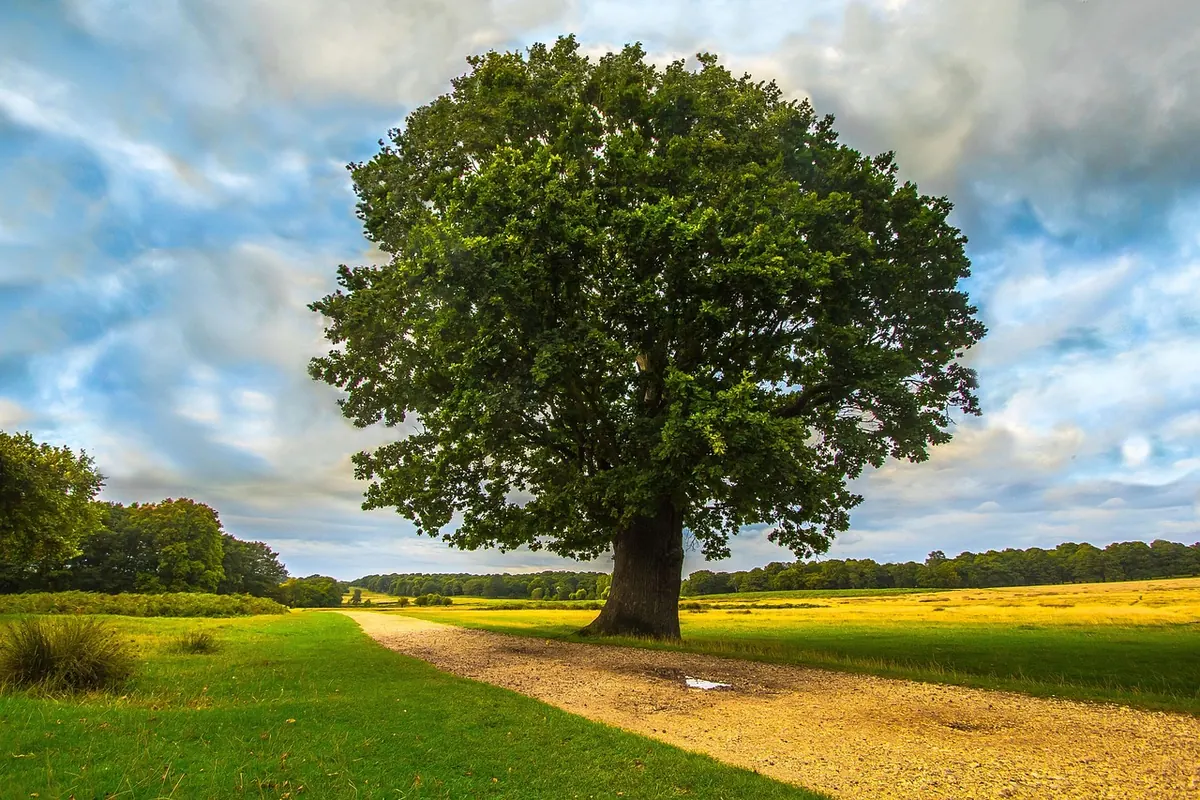
Photo: diego_torres / Pixabay