Trending

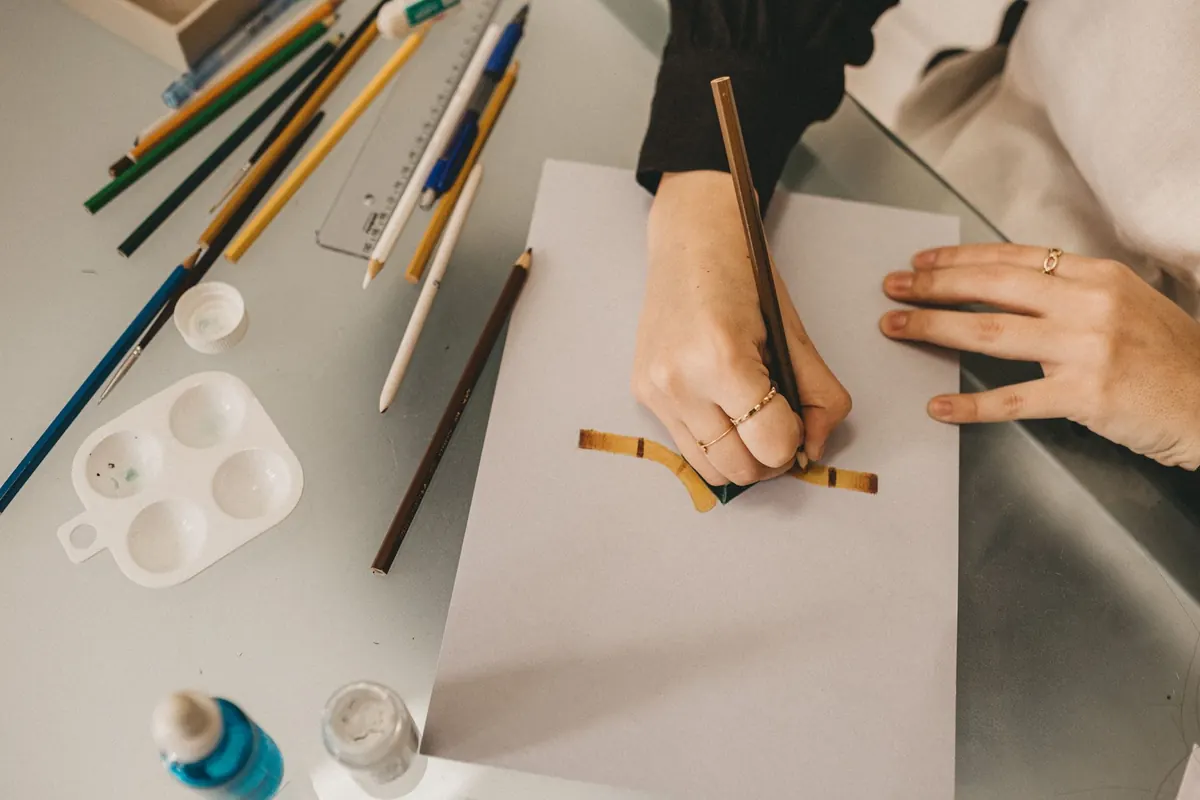
Hands have a reputation as the hardest thing to draw, and most beginners deal with that by avoiding them. The hand disappears into a pocket, gets cropped by the edge of the page, or turns into a mitten with five sausages attached. The problem is rarely talent — it is order. If you draw the outline of a hand first and try to fit the fingers in afterwards, everything fights you. Build the hand from three simple pieces instead: a palm block, a set of finger tubes, and a knuckle line that ties them together. The same difficult pose suddenly becomes manageable.
Draw the palm before anything else. Not the silhouette, not the fingers — a solid block. Think of a small wedge-shaped box: a flat back, a flat front, and a visible side edge with real thickness.
A useful rough guide is that the palm, measured from the wrist crease to the knuckles, is about the same length as the middle finger. Check that against your own hand in a mirror and you will see how close it sits.
The block tapers slightly towards the wrist and stays wider at the knuckle end, where the hand is at its broadest. Tilt it to match the angle of the pose. That one decision — is the hand tilted towards me, away, or sideways — tells you where every finger goes later. Keep the drawing light and the corners soft rather than sharp.
Fingers are not sticks and not sausages. Each one is a tube of three short segments, gently narrowing towards the tip. The thumb has two segments and leaves the hand at a completely different angle.
Spend a minute looking at your own hand before you draw:
The knuckle line is the reason hands go wrong so often. It is not straight.
Lay your hand flat and look at the bumps where the fingers leave the palm. They sit on a shallow arc, with the middle knuckle pushed furthest forward. The second set of knuckles — the middle joints — follow a similar curve. Draw those two arcs across your palm block and you have placed four fingers in one move.
Then check the spacing. The bases of the fingers sit close together, almost touching, and fan out from there. When a hand spreads wide, the fingers separate at the tips, not at the roots.
Finally, the thumb. Its base sits low, near the wrist, on a fleshy pad at the side of the palm. Draw the thumb last and angle it across the palm. It leaves the hand in a different direction from the other four, and that contrast is a large part of what makes a hand look like a hand.
Work in this sequence and you will spend far less time erasing:
Rest your hand on the table with the fingers slightly apart. There is almost no foreshortening here, so this is the clearest view you will get of the palm block and the knuckle arc. Draw it three times at different angles of tilt.
Close your hand around something cylindrical. Now the fingers compress into rounded blocks and the thumb wraps across the front of them. Watch where the thumb crosses, how the index finger sits above the rest, and how little of the palm you can actually see. This pose teaches you what to leave out.
Hold your hand out towards a mirror with the fingers pointing at you. Everything foreshortens: the palm becomes large and the fingers turn into short, overlapping ovals with barely any visible length. It is the hardest of the three and by far the most useful. Draw it badly, several times, and you will learn more from it than from an hour of neat copying.
Set a timer and split the time in two. Spend the first two minutes on thirty-second sketches of your own hand in any pose — no detail, just block, tubes and arcs. Use the remaining eight minutes on a single pose, following the drawing order above and refining at the end.
Your own hand is the best model because you can rotate it, tilt it and see the angle you are struggling with. A mirror helps with reaching poses, and a photograph is fine if you need the same pose to stay still.
Do this three times a week and you will cover dozens of poses within a month. Keep the pages. Comparing this week's fist with the one you draw in four weeks' time is the most convincing progress report you can give yourself.
If you remember one thing, make it this: build the palm first. Fingers, thumb and knuckles all fall into place once the block underneath them is right.
Photo: Jonathan Borba / Pexels